Tutorial
How To Install Jenkins on Ubuntu 18.04

Not using Ubuntu 18.04?Choose a different version or distribution.
Introduction
Jenkins is an open-source automation server that automates the repetitive technical tasks involved in the continuous integration and delivery of software. Jenkins is Java-based and can be installed from Ubuntu packages or by downloading and running its web application archive (WAR) file — a collection of files that make up a complete web application to run on a server.
In this tutorial, you will install Jenkins by adding its Debian package repository, and using that repository to install the package with apt.
Prerequisites
To follow this tutorial, you will need:
- One Ubuntu 18.04 server configured with a non-root sudo user and firewall by following the Ubuntu 18.04 initial server setup guide. We recommend starting with at least 1 GB of RAM. See Choosing the Right Hardware for Masters for guidance in planning the capacity of a production Jenkins installation.
- Java 8 installed, following our guidelines on installing specific versions of OpenJDK on Ubuntu 18.04.
Step 1 — Installing Jenkins
The version of Jenkins included with the default Ubuntu packages is often behind the latest available version from the project itself. To take advantage of the latest fixes and features, you can use the project-maintained packages to install Jenkins.
First, add the repository key to the system:
- wget -q -O - https://pkg.jenkins.io/debian-stable/jenkins.io.key | sudo apt-key add -
When the key is added, the system will return OK. Next, append the Debian package repository address to the server’s sources.list:
- sudo sh -c 'echo deb http://pkg.jenkins.io/debian-stable binary/ > /etc/apt/sources.list.d/jenkins.list'
When both of these are in place, run update so that apt will use the new repository:
- sudo apt update
Finally, install Jenkins and its dependencies:
- sudo apt install jenkins
Now that Jenkins and its dependencies are in place, we’ll start the Jenkins server.
Step 2 — Starting Jenkins
Let’s start Jenkins using systemctl:
- sudo systemctl start jenkins
Since systemctl doesn’t display output, you can use its status command to verify that Jenkins started successfully:
- sudo systemctl status jenkins
If everything went well, the beginning of the output should show that the service is active and configured to start at boot:
Output● jenkins.service - LSB: Start Jenkins at boot time
   Loaded: loaded (/etc/init.d/jenkins; generated)
   Active: active (exited) since Mon 2018-07-09 17:22:08 UTC; 6min ago
     Docs: man:systemd-sysv-generator(8)
    Tasks: 0 (limit: 1153)
   CGroup: /system.slice/jenkins.service
Now that Jenkins is running, let’s adjust our firewall rules so that we can reach it from a web browser to complete the initial setup.
Step 3 — Opening the Firewall
By default, Jenkins runs on port 8080, so let’s open that port using ufw:
- sudo ufw allow 8080
Check ufw’s status to confirm the new rules:
- sudo ufw status
You will see that traffic is allowed to port 8080 from anywhere:
OutputStatus: active

To                         Action      From
--                         ------      ----
OpenSSH                    ALLOW       Anywhere
8080                       ALLOW       Anywhere
OpenSSH (v6)               ALLOW       Anywhere (v6)
8080 (v6)                  ALLOW       Anywhere (v6)
Note: If the firewall is inactive, the following commands will allow OpenSSH and enable the firewall:
- sudo ufw allow OpenSSH
- sudo ufw enable
With Jenkins installed and our firewall configured, we can complete the initial setup.
Step 4 — Setting Up Jenkins
To set up your installation, visit Jenkins on its default port, 8080, using your server domain name or IP address: http://your_server_ip_or_domain:8080
You should see the Unlock Jenkins screen, which displays the location of the initial password:
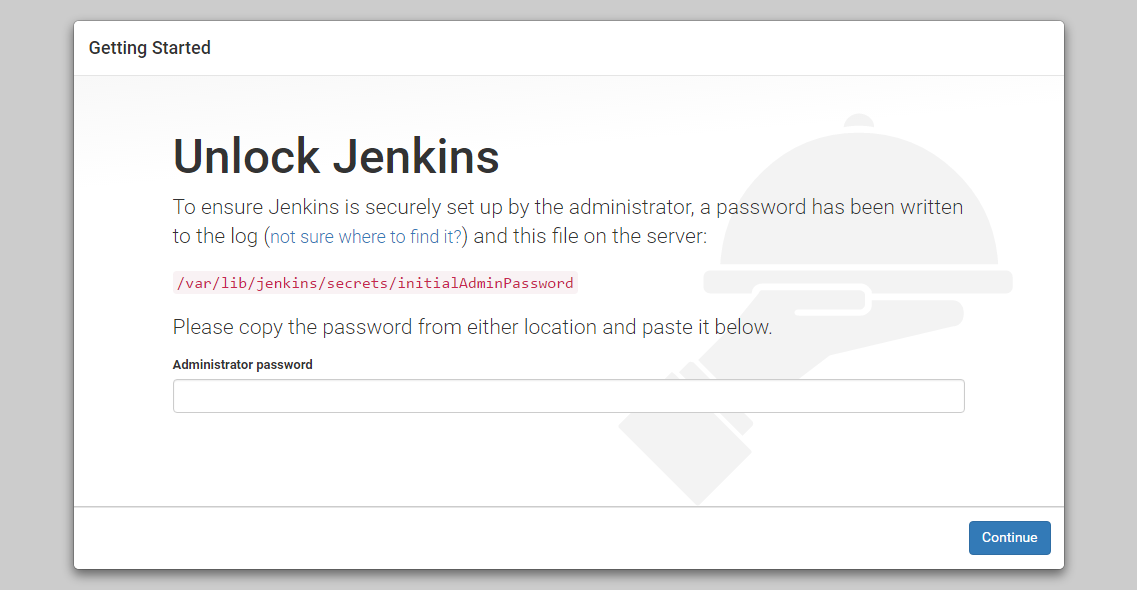
In the terminal window, use the cat command to display the password:
- sudo cat /var/lib/jenkins/secrets/initialAdminPassword
Copy the 32-character alphanumeric password from the terminal and paste it into the Administrator password field, then click Continue.
The next screen presents the option of installing suggested plugins or selecting specific plugins:

We’ll click the Install suggested plugins option, which will immediately begin the installation process:

When the installation is complete, you will be prompted to set up the first administrative user. It’s possible to skip this step and continue as admin using the initial password we used above, but we’ll take a moment to create the user.
Note: The default Jenkins server is NOT encrypted, so the data submitted with this form is not protected. When you’re ready to use this installation, follow the guide How to Configure Jenkins with SSL Using an Nginx Reverse Proxy on Ubuntu 18.04. This will protect user credentials and information about builds that are transmitted via the web interface.

Enter the name and password for your user:
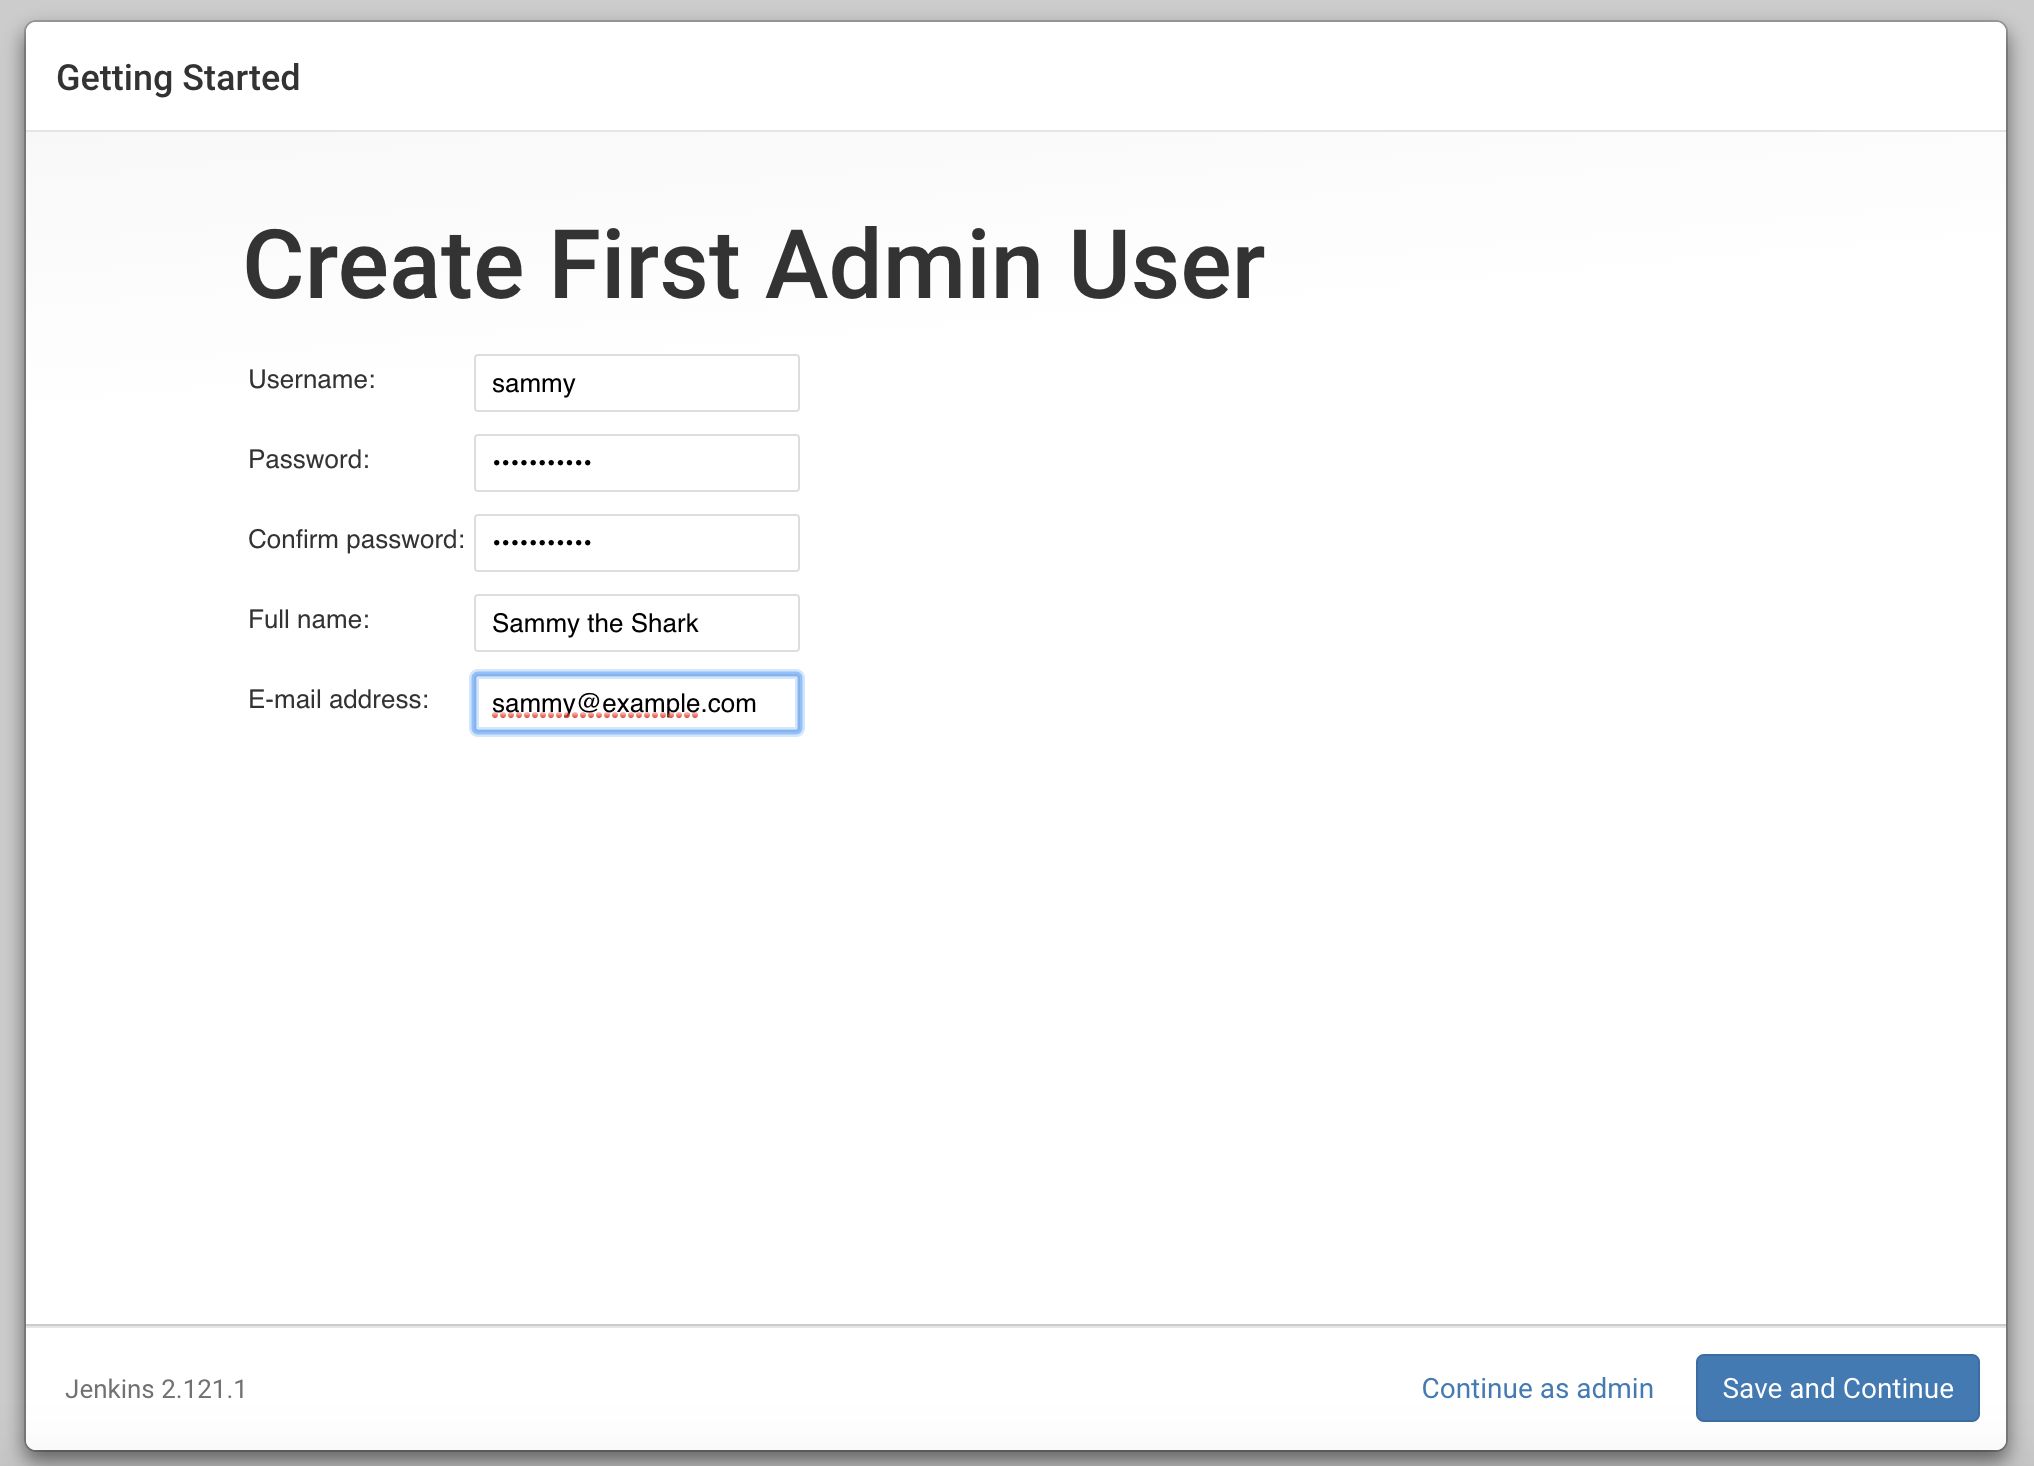
You will see an Instance Configuration page that will ask you to confirm the preferred URL for your Jenkins instance. Confirm either the domain name for your server or your server’s IP address:

After confirming the appropriate information, click Save and Finish. You will see a confirmation page confirming that “Jenkins is Ready!”:
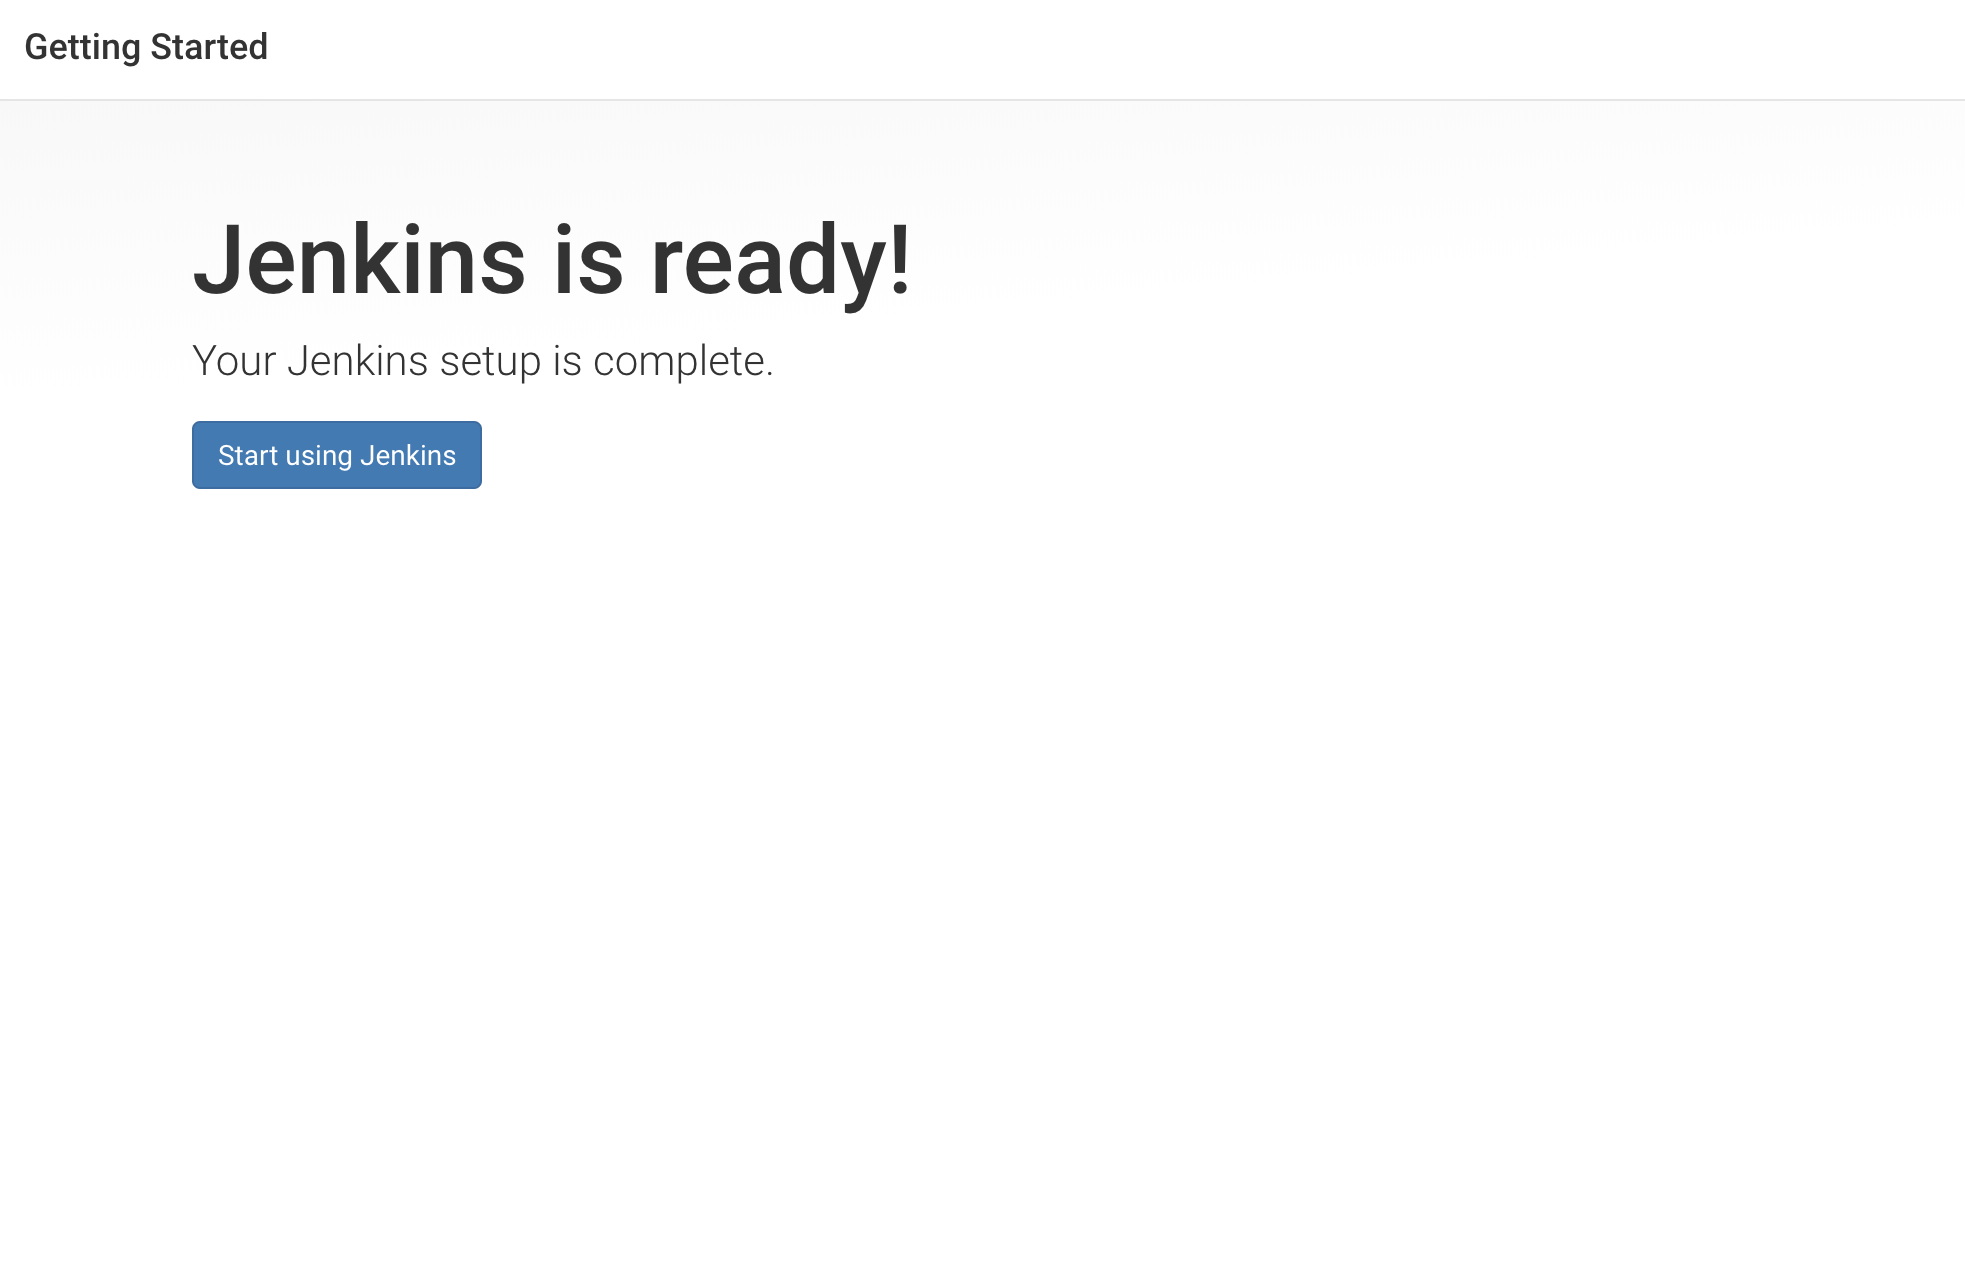
Click Start using Jenkins to visit the main Jenkins dashboard:
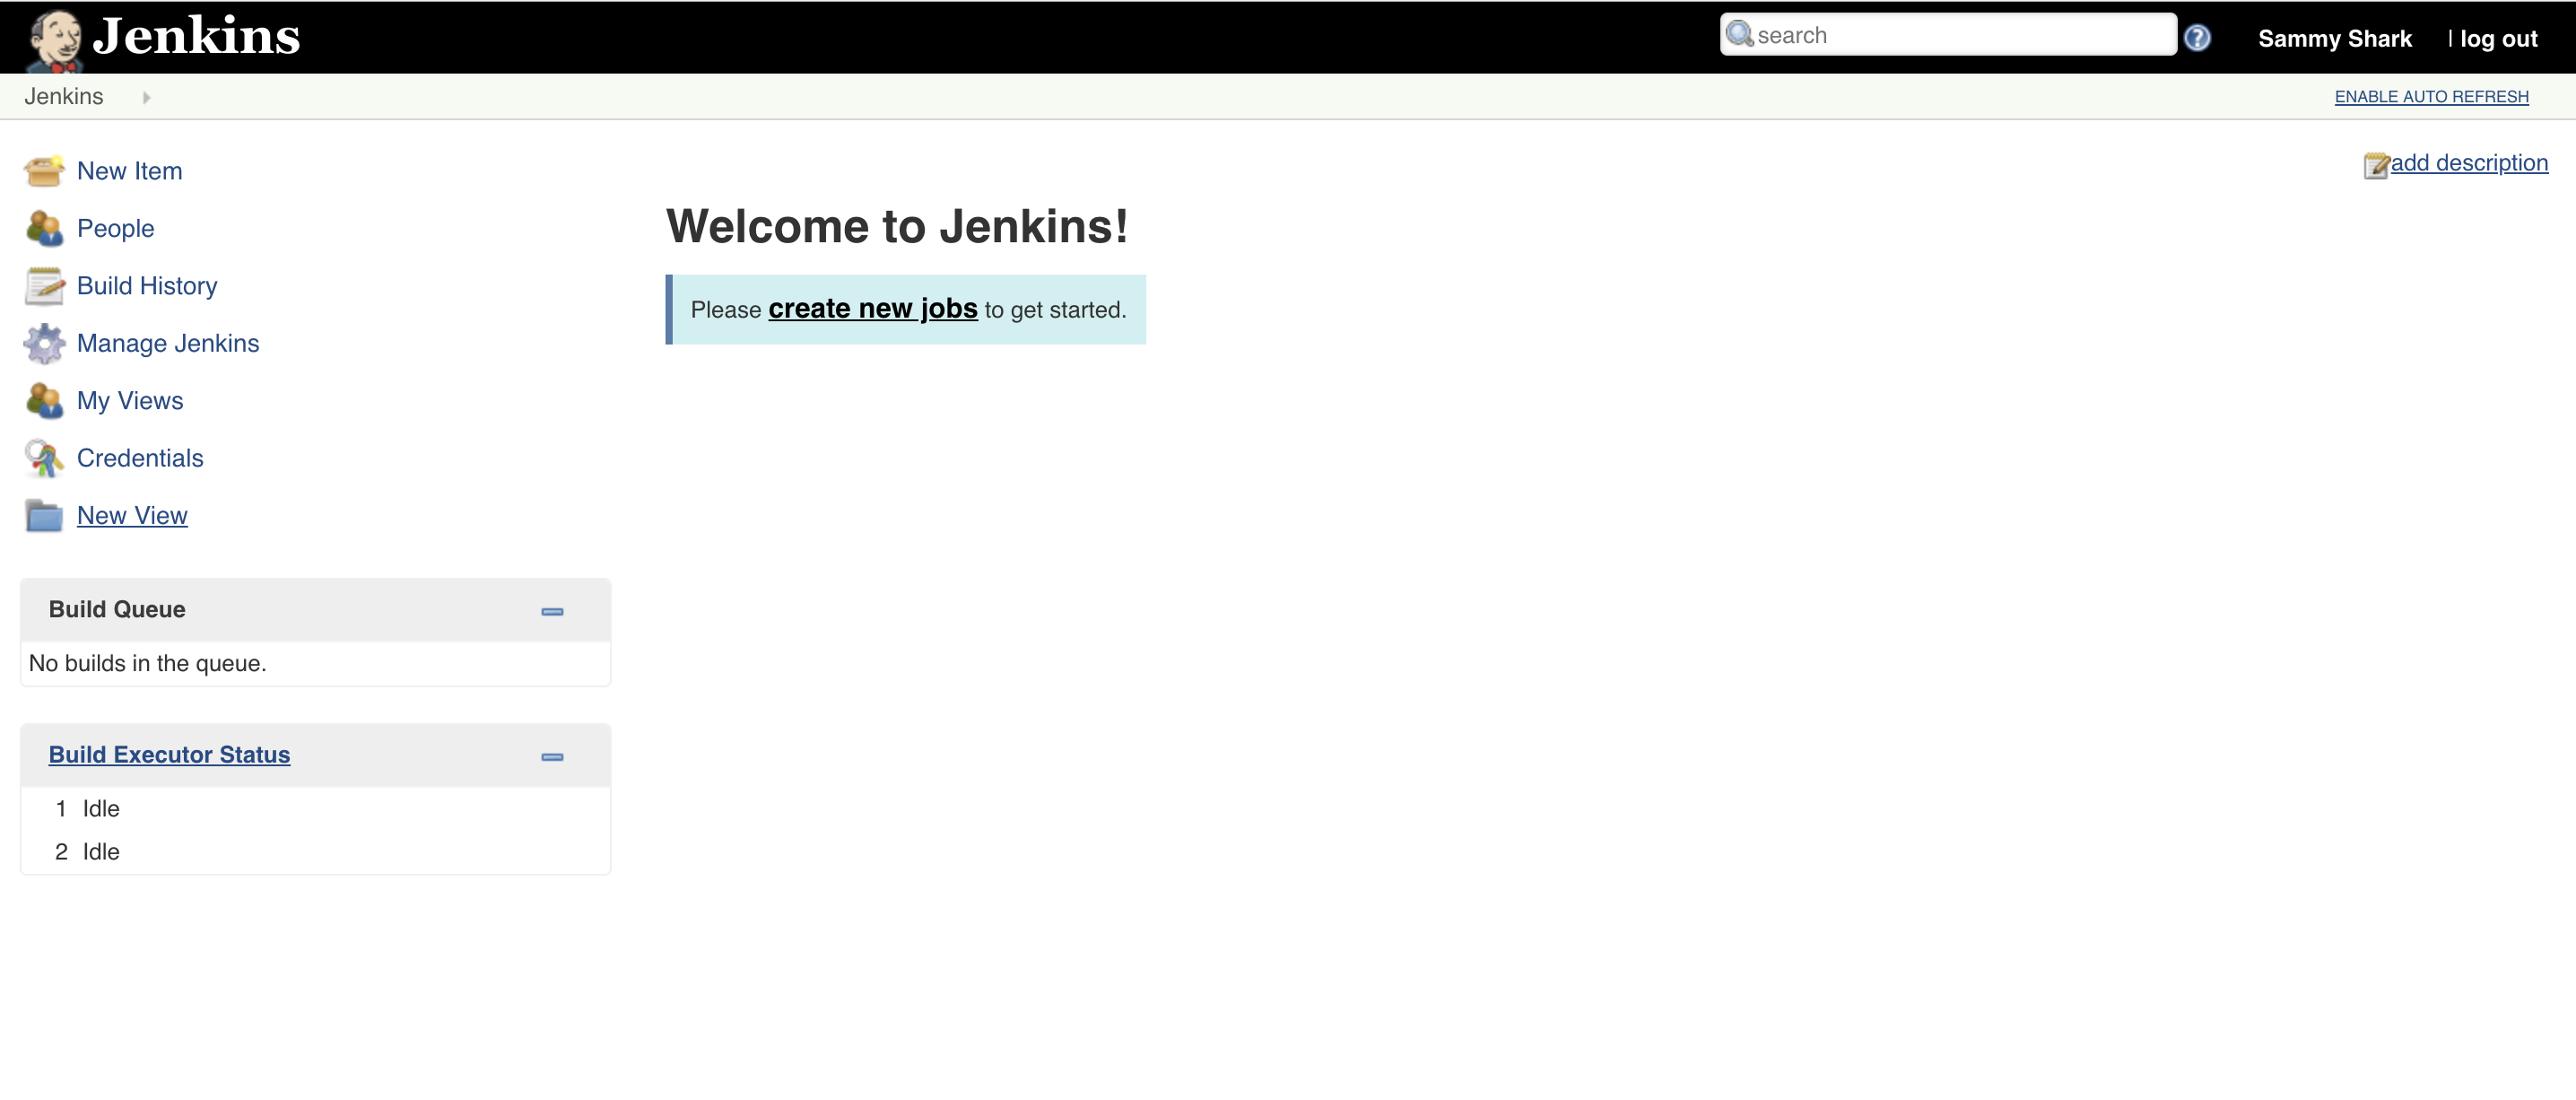
At this point, you have completed a successful installation of Jenkins.
Conclusion
In this tutorial, you have installed Jenkins using the project-provided packages, started the server, opened the firewall, and created an administrative user. At this point, you can start exploring Jenkins.
When you’ve completed your exploration, if you decide to continue using Jenkins, follow the guide How to Configure Jenkins with SSL Using an Nginx Reverse Proxy on Ubuntu 18.04 to protect your passwords, as well as any sensitive system or product information that will be sent between your machine and the server in plain text.
Thanks for learning with the DigitalOcean Community. Check out our offerings for compute, storage, networking, and managed databases.
This textbox defaults to using Markdown to format your answer.
You can type !ref in this text area to quickly search our full set of tutorials, documentation & marketplace offerings and insert the link!
Featured on Community
Get our biweekly newsletter
Sign up for Infrastructure as a Newsletter.

Hollie's Hub for Good
Working on improving health and education, reducing inequality, and spurring economic growth? We'd like to help.

Become a contributor
Get paid to write technical tutorials and select a tech-focused charity to receive a matching donation.


Hi, Thanks for this. Ran into an error after installation though, jenkins failed to start: “”" ERROR: No Java executable found in current PATH: /bin:/usr/bin:/sbin:/usr/sbin If you actually have java installed on the system make sure the executable is in the aforementioned “”" Had to install Java(8) and it was all good after that. Read somewhere else that 18.04 defaults to Java 9 which Jenkins “doesn’t want”.
Hey guys, if someone is having this issue:
Use the follwing commands to fix it:
Nice Tutorial!
It seems the repository key and repository URL is changed from what is given in the tutorial.
I was able to install the Jenkins once I updated the repository key URL from here: http://pkg.jenkins-ci.org/debian-stable/
I hope you will update the article with the same soon! Many thanks for giving such nice tutorials with completeness! Very much appreciated!
I don’t what is wrong with Digital Ocean’s tutorial guides. Always stuck in errors when I follow these. Guides in other websites are working fine. I’m really worried about the quality of digital ocean’s tutorials
ALL of my plugins are failing to install. I opened the firewall and I do not have a proxy running in the middle. Details from failure below.
does not work for me. I get an error when doing the sudo apt update
However removing the “-stable” from the line allows it to work for me
tried on Ubuntu 18.04 and 20.04
Jenkins is no longer in the repos https://bugs.launchpad.net/ubuntu/+source/jenkins/+bug/1294005
Install http://pkg.jenkins-ci.org/debian-stable/
Thank you, worked like a charm. Concise and easy to read.